Be forewarned, this post is long. And full of pictures. I wanted to give as much detail as possible. None of this post is sponsored and I have not been paid by anyone that I mention. Brands are mentioned purely for my likes of them. 😀
When I was pregnant, I felt totally overwhelmed by the idea of cloth diapers. I knew it was what I wanted to do, but I there are so many options and everyone has a different preference based on their own routines and needs. While so many speak of the benefits, not so many actually tell you what to do. The ones that do tell you how they do it have extensive routines that I just couldn’t keep up with.

It took me until this second baby to find what really fit for us: prefolds with wool covers. I wrote a bit about why this is my favorite method here. Yeah, it sounds complicated and confusing, but it’s not. There’s also a wealth of benefits in using wool. Plus, of course, it’s all pretty dang cheap. At least if you do it my way.
The Goods
I almost exclusively buy our cloth diapering items at Diaper Swappers. It’s a site where you can buy and sell used cloth diapers. Sound gross? It’s really not. Washing cloth diapers gets any of the grossness off and drying, either in the drier or especially in the sun, makes sure its gone for good. If you’re concerned, there are various products you can get that are supposed to get rid of any bacteria in diapers. Buying diapers used means you can save a significant amount. With the brand of prefolds I buy, I’ve hardly lost a dime in buying them used and selling them when we go up a size.

Which gets me to the brand. I did a lot of research on prefold brands before buying them. Green Mountain Diapers had nothing worse than amazing reviews. After comparing them to some Gerbers I use as burp rags (it was a not-enough-diapers-while-out emergency) I can happily agree that they are awesome. They are spendy for prefolds, but prefolds are one of the cheapest options in the cloth diapering world. Two dozen easily gets me by and if you buy them new, that’s only $70. One prefold all night (since Twig hates to get out of bed to be changed) and zero leaks. For the lots-at-once wetting toddler, I use one of sister’s smaller prefolds folded into thirds as a doubler for her toddler-sized prefold. Part of the leak protection, of course, is the wool cover.

Peanut’s bum is so full of diaper that she waddles. It’s pretty hilarious.
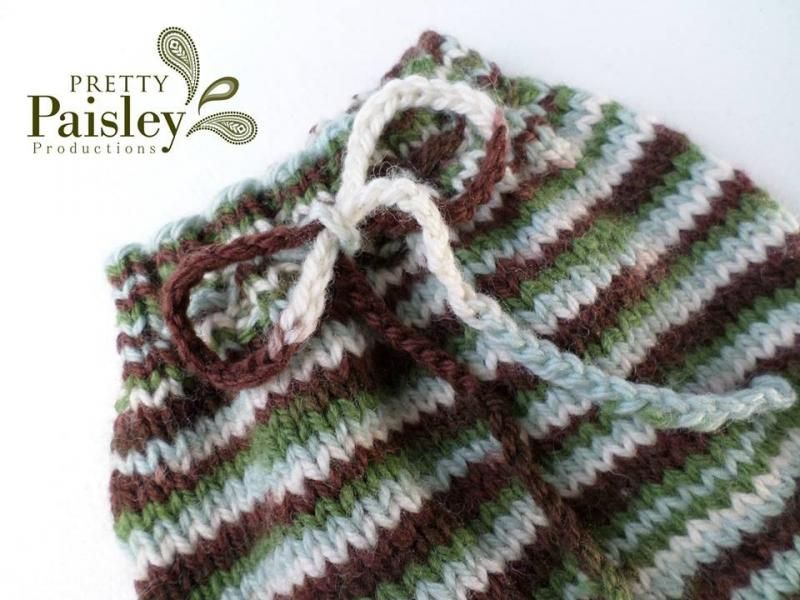
Wool covers. There’s a billion places you can buy them. And they’re quite often expensive. Diaper Swappers is another great place to get them, but also Hyena Cart and Etsy. There’s probably a mom near you selling handmade wool covers right now! Or, if you’re cheap like me, you can make your own. Learn to knit (here’s my favorite pattern on Ravelry), crochet, or follow a tutorial on how to make them out of recycled wool sweaters. Even if you do buy them, I easily get by with 3 (though currently that’s two with a third being knit) and a backup or two of something non-wool (I have 1 PUL and one fleece) just in case, so it’s not super expensive.
Useful accessories: snappi (some prefer pins, but I could never get them figured out) for securing the prefold, cloth wipes (wish I could tell you where I got them, but they’re just cotton with surged edges), wetbags (more on that later), and some coconut oil for diaper rash cream.
The Method
While it’s certainly not as easy as throwing on a pocket diaper or disposable, prefolds aren’t as difficult as they look. There’s an array of folding options. I toyed around with a lot of them trying to get Twig’s huge breastfed poops to stay off her cover, but none of them really ended up working 100% of the time. Luckily, she stopped pooping in such big bursts, so it ended up being only an occasional problem. Now that she’s eating some solids, there’s no problem with that at all.

The trick is to get the diaper on the baby before she pulls this move.
Since none were preferred for keeping poop in, I just picked the one that was the quickest and easiest for me: the jelly roll. Kept the poop in most of the time and it was super fast and mindless. Plus, having a chunky baby, it was nice to be able to fan out the top easily. Secure with a snappi and pull on a cover. Voila!

The wipes all piled in the changing table drawer next to covers. Coconut oil is in the jar with the blue lid.
When baby has just a pee diaper, I don’t wipe. Really, it seems to cause more irritation to my kids rubbing the wipe over their skin than just letting the pee dry. For poop, I just run a couple of wipes under the tap and ring them out (not too much!) before walking to the changing table. I switch between wool covers if the current one feels wet and sometimes just for kicks. Dirty diapers go in the wetbag. Dirty wool goes straight to the sink.

The wetbag connected to the changing table.
Speaking of wetbags, I made mine. Well, my mom made my carry around wetbags and then supervised me making the at-home one and I still need to make one more. Currently there’s no pattern, but I’m hoping to make one in the near future to share. Before making these, I used a small trash can lined with a reusable grocery bag (the kind that you can fold up into a ball). This worked well when we used gDiapers, but with the prefolds being larger, it filled up too quick. Plus the pooch thinks diapers are AWESOME and she figured out how to open the trash can, so we had to keep it up high. Unfortunately, this was perfectly nose-height. Hence the new system. I’m happy to say that the PUL fabric at Joann’s is smell-proof.
The Washing
First off, do not wash the wool in a machine. It will felt, especially on hot. I neglected to tell my mother-in-law this and now I have a newborn sized felted soaker. I’m saving it for any possible future babies.
We wash diapers every time the wetbags are all full or I’m running low on diapers, about every two days. It’s really more of the former than the latter now that I have 30 diapers. For a month or two we were getting by on a dozen, so they were washed nightly because I can’t get through 2 days with only 12 diapers.
Generally my lovely husband does the diaper laundry. Isn’t he grand? First it’s a cold rinse (we have a really basic top loader, so each step is done manually) without soap. Just set the dial all the way to rinse and start it. It can be on hot/cold because the cold means that it’s a cold rinse. Then we do a full hot/cold cycle with Country Save. Even if it’s a bunch of diapers, we only use somewhere around 1/8 of the cup. Diapers don’t need much soap.

The cold rinse setting.
Wetbags are hung to dry, as is the PUL cover if it needs a wash (rarely). The fleece can go in the dryer. We have to dry the prefolds twice to get them fully dry. If I’ve done the diapers myself in the daytime and I’m feeling ambitious, I’ll hang them out on the line. Stains are simply zapped out by the sun. Isn’t nature great?
Wool doesn’t need to be washed every time you use it. Actually far from. It only needs to be washed if A. It gets poop on it, B. It needs to be lanolized, or C. It gets stinky. I have yet to experience C.
When poop gets on the soaker, you can spot clean it. I use some wool wash soap samples I got from a friend and all you do is run some tepid (feels neither hot nor cold to the skin) tap water on it and rub on some soap, rinse the soap off and dry. Drying means rolling it up in a towel and then hanging it to dry on the line. This time of year and using the knit wool (as opposed to felted), it’s dry in a couple of hours. You know your wool needs to be lanolized if it starts to feel wet or leaks. Honestly, I just end up lanolizing sometimes when poo gets on the cover. I use this method.
Out and About

The diaper bag necessities.
Really, this whole method transfers well to the public realm. I have a changing pad and I carry a squirt bottle and sanitizer in case there’s a poop when we’re not near a sink. I bring one, sometimes two covers. Most often 3-4 prefolds, more if we’ll be gone longer. Dirty diapers go in the travel-sized wetbag.
What’s your favorite cloth diaper? Any suggestions for my methods? Any questions?
 It occurred to me not long after Twig’s birth that, Wow! Wool diaper covers are crazy expensive! And as time as passed this fact has been confirmed over and over again. People asking me the absolute minimum amount of wool covers they can get away with. People using non-wool covers in conjunction with wool to offset the price. Even people not using wool at all because the prices are so inhibitory.
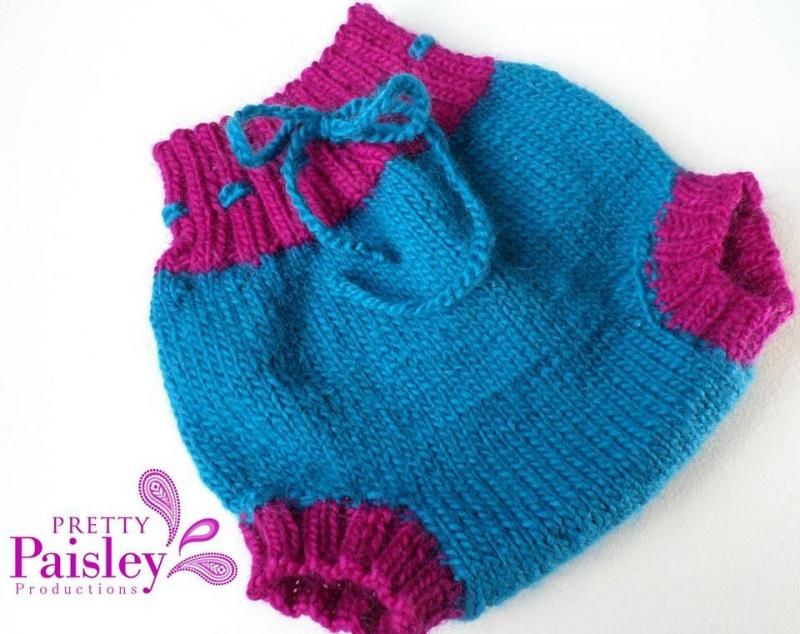 So for the last year or so I’ve had the idea bumping around in my head about selling wool covers on the cheap. I really want to make wool accessible to the masses. Still, I wasn’t so into the idea of starting up my own shop. Not too long after my initial idea, my lovely friend Jillian contacted me about doing the very thing I had been thinking of.
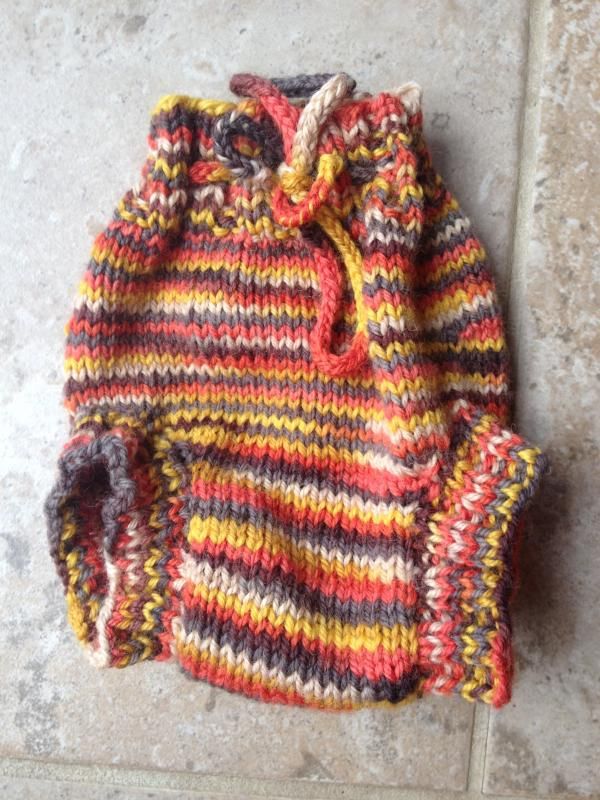 As a special announcement to my covers launching on Pretty Paisley Productions, I’m giving away one of my covers! Size to be determined by you, made in the super cute Thanksgiving-y yarn that this cover to the right was knit out of, and pretty design elements to be chosen by me. 🙂


